
Battery Maintenance And Repair
Jan 03, 2024With the development of electric counterbalance forklifts and various types of electric material handling equipment, especially AGVs, batteries have become an indispensable part. A correct understanding of batteries and good maintenance methods can greatly extend the service life of electric forklifts. Below, Neolift will introduce you to the maintenance and repair of batteries in detail.
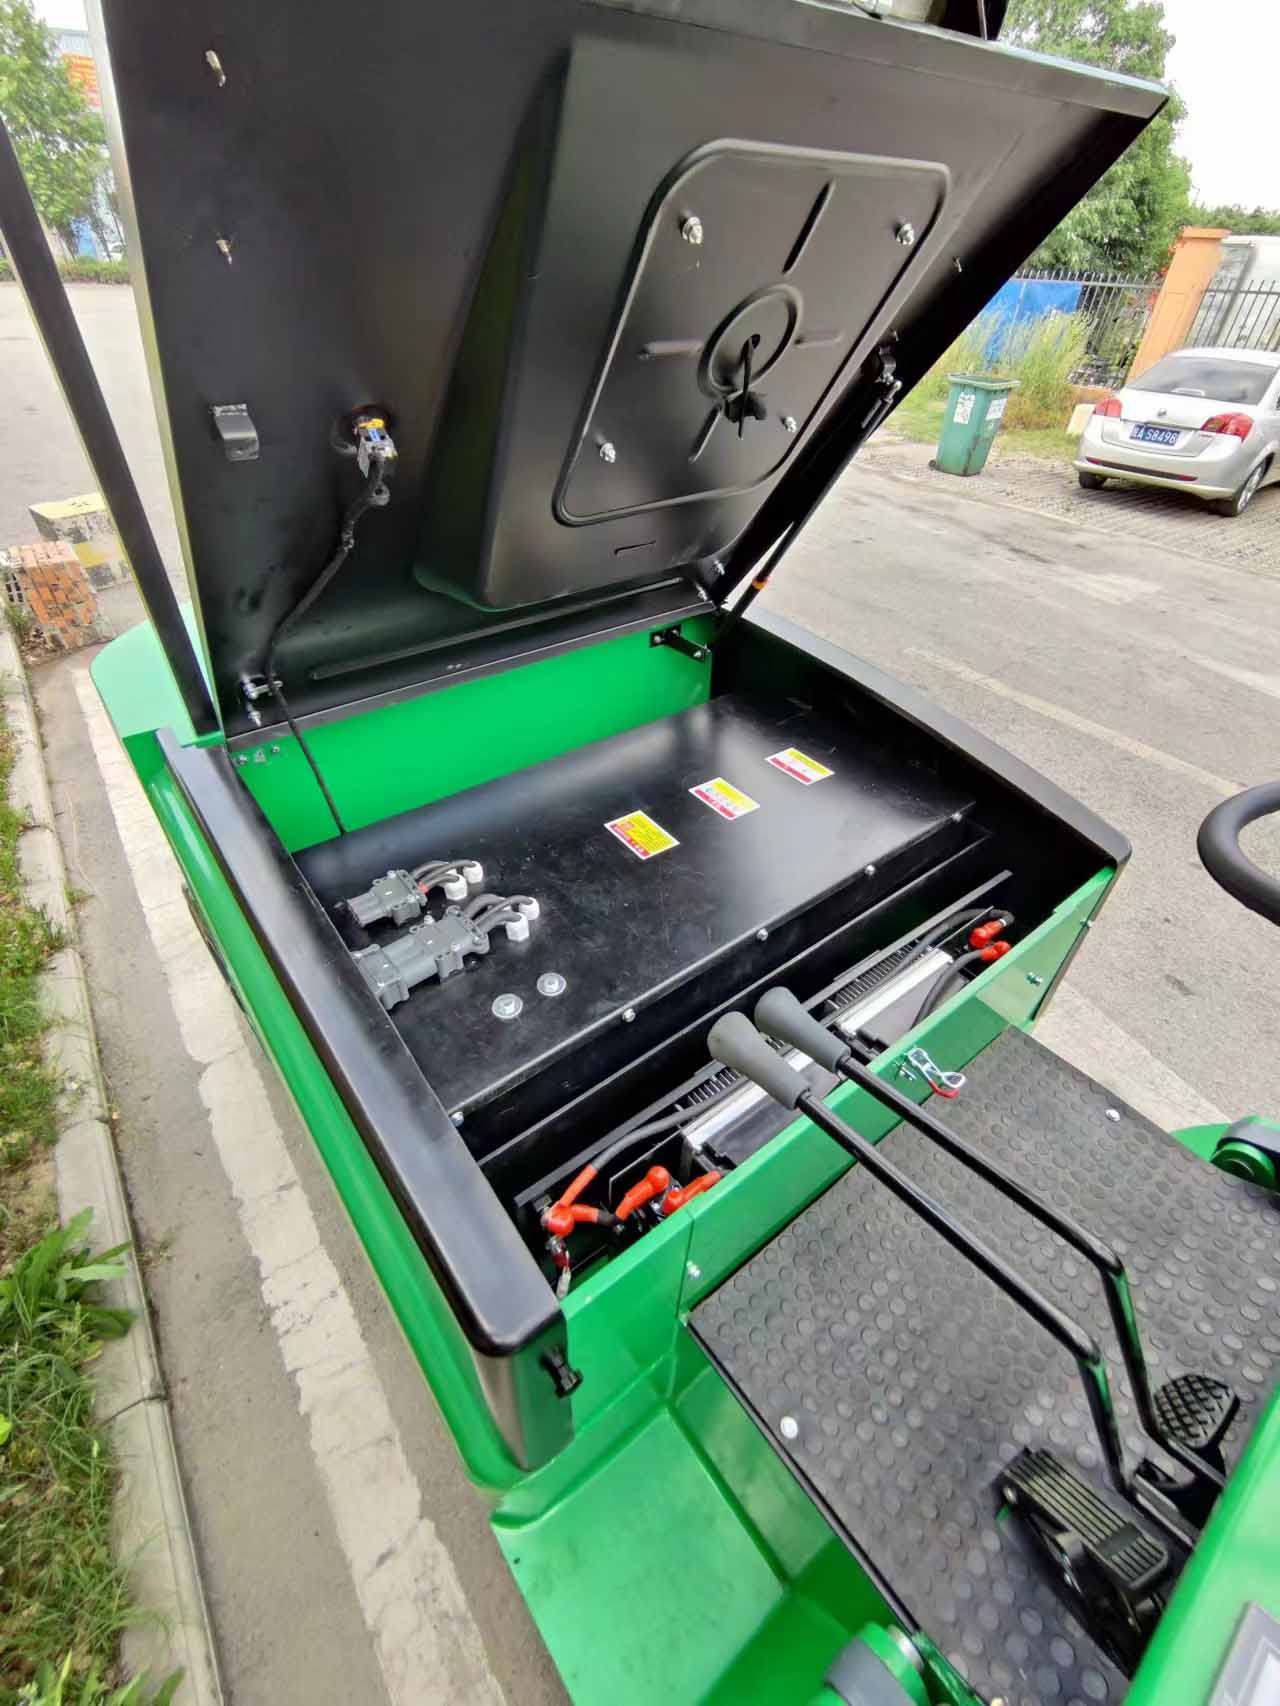
(1) Battery maintenance
1) The battery should be inspected frequently and kept clean. The oxides on the wiring piles and clamps should be removed at any time, coated with Vaseline, and checked for looseness. Are the ventilation holes unobstructed?
2) The battery should not be discharged too fast. If it is too fast, the plates will warp due to overheating and the active material will fall off. Do not use the starter for more than 3~5 minutes. It is strictly forbidden to use the short circuit method to check the capacitance.
3) The battery electro-hydraulic level should be checked frequently, and distilled water should be added to the specified liquid level (the liquid level is 10~15mm higher than the protective plate). Because the battery is in use. Part of the water is decomposed Or evaporate, so add distilled water.
4) Check whether the battery case is damaged and whether the installation is stable.
5) Check the battery terminal voltage. When the terminal voltage of a single cell battery drops to 1.7V, it should be charged.
(2) Battery inspection and repair
1) Before dismantling and repairing the battery, it should be discharged at 10~15A until the voltage per cell is as low as 1.7V, pour out the electrolyte, and clean the surface.
2) Remove the sealing glue, remove the cover of the battery tank, and take out the plates from the battery tank. Then separate the plate body into a positive plate combination and a negative plate set. After decomposition, immediately separate the positive and negative plates into distilled water and clean them. Then place it in a ventilated drying oven at 40~50℃ to dry.
3) Repair the cracks and cracks in the battery casing. The dirt should be removed, then use a scraper to cut out a 45°~60° V-shaped groove with a depth of 3~5mm and a width of 5mm along the crack, and clean it with acetone. Then plug a layer of asbestos rope or small asbestos filler into the tank, and then fill it with methanol film prepared with nitric acid (without filler) from one side of the shell wall, so that the methanol glue covers the surface of the shell wall along the periphery of the tank 8 ~10mm, then place it at 15~20℃ and dry for 3~5h. Follow this method for the other side of the trench. Then conduct a sealing test to check whether there is leakage. If there is leakage, it must be reprocessed. However, the current practice is that if the battery shell has cracks, it is generally not repaired but replaced directly.
4) Inspection and repair of plates and separators. The sulfate coverage on the plate exceeds 50%, the bending deformation is greater than 3mm, the grid bars are broken, and the active material in the 20 grid holes of the negative plate has cracks at different positions; the active material of the positive plate has cracks and the grid holes have fallen off for more than 7 time, it should be scrapped. When the bending deformation of the electrode plate is not greater than 3mm, it can be flattened and straightened using a 30~35kN hand press in a wet state. When the sulfate (PbSO,) coverage on the plate does not exceed 50%, or when the sulfate is limited to the surface of the plate and is not immersed in the active material in the inner layer, the plate can be eliminated by scrubbing the plate with a metal brush. The slight sulfate on the plate can be eliminated by charging with an electrolyte with a smaller concentration (1.04~1.05g/cm³) and a current smaller than the normal charging current. Carbonized partitions must be replaced and cannot be repaired. Partitions that are not severely vulcanized can still be used after washing and eliminating vulcanization. New wooden partitions must be washed with alkali (10% soda solution) and pickled with acid.
(3) Installation of battery
1) File the mounting ears of the electrode plates, and assemble the electrode plates with the same usage time and the same appearance into the plate group. Do not mix old and new plates.
2) Place the electrode plates neatly in the notches of the welding frame, align the pile heads according to the positions on the cover, and then use a soldering iron to weld the plates to the pile heads respectively, and remove the remaining lead chips.
3) Assemble the positive and negative plate sets in a staggered manner, gently separate the plates, and insert the separators one by one. The installation sequence starts from the middle and goes to both sides. The grooved side of the separator should face the positive plate.
4) Adjust the separator and the electrode plate so that their end faces and surroundings are evenly aligned, and then assemble the electrode plate into the battery slot. If it is too tight and difficult to insert, it can be tightened in a special clamp. If it is too loose, a partition can be inserted between the plate group and the battery tank wall. If the plate set is not high enough, the plates should be lined with wooden spacers to prevent the plates from loosening up and down.
5) Install the slot cover, embed a circle of asbestos rope around the cover, and inject sealant heated to 190~200°C between the slot and the cover until it is flush with the upper and lower planes of the cover. Then heat it with a blowtorch or soldering iron and smooth it with a spatula.
6) Install the connecting plate and cast the pile head. Mark (+) and (-) on the pile head respectively, and apply red paint on the positive electrode for easy identification.
7) After checking whether there is a short circuit with a multimeter, inject electrolyte and prepare to charge.
(4) Preparation of electrolyte
The quality of electrolyte preparation has a great impact on the service life of the battery. The battery is filled with electrolyte, which is generally a dilute sulfuric acid solution mixed with one part (by volume) of pure sulfuric acid (density: 1.835g/cm’) and three parts of distilled water. Its density should be between 1.240~1.310g/cm’.
When preparing the electrolyte, you should first pour the required distilled water into an acid-resistant container, and then carefully and slowly pour concentrated sulfuric acid, while constantly stirring with a glass rod to mix the two evenly and quickly dissipate heat. Use a density meter to measure the density of the electrolyte until it meets the requirements.
When preparing, be sure not to pour distilled water into sulfuric acid, to avoid that as soon as the water comes into contact with concentrated sulfuric acid, it will immediately boil and turn into steam, and the volume will suddenly expand, resulting in an explosion and injury to people.
(5)Charging the battery
1) After repairing the battery, pour new electrolyte with a preheated temperature of 25°C (density 1.28~1.30g/cm³) until it is 10~20mm above the top of the plate, then let it sit for 4~6 hours to cool down. and allow the electrolyte to penetrate into the pores of the active material of the electrode plate and between the separators, and then add electrolyte to restore the liquid level to the standard height.
2) The first charge is to use a current of 0.7*I5(A) for 36~75h. If the electrolyte temperature during charging rises to 45°C, charging must be stopped and the battery must be allowed to cool before charging. When a lot of bubbles overflow from the battery's electrolyte, there is foam on the liquid surface, the single-cell battery voltage rises to 2.4V, and the measured voltage and electrolyte density remain unchanged during 2 hours, the first charging can be stopped at this time.
3) After charging the battery for the first time, use I5(A) current to discharge for 5 hours until the single cell battery voltage drops to 1.7V.
4) For the second time, charge with a current of 0.35*I5(A) until the electrolyte of the battery has many bubbles overflowing and there is foam on the liquid surface, and the voltage of the single cell battery is measured to be 2.4V and the density of the electrolyte is 1.280 g/cm' and remains unchanged during 2h, then use the current of I5(A) for a second discharge of 5h until the voltage drops to 1.7V. When the battery is discharged for the second time, the discharged capacity of the battery should be no less than 90% of the original rated capacity, then the battery can be used. If the above capacity is not reached, another charge and discharge cycle must be performed.
5) The battery cannot be overcharged or charged with excessive current, otherwise the plates will warp and the active material will fall off. When charging, the temperature and density of the electrolyte and the voltage of the battery must be measured every hour. For batteries that have been stored for too long, the first-stage charging current during initial charging should be appropriately smaller, and the charging time should be correspondingly longer.
Add:No.609 Tahui Road , Shihudang Town, Songjiang District ,Shanghai, China


Friendly Links :
© 2026 Shanghai Zon-Cho Huge Science And Technology Co., Ltd. All Rights Reserved.
|Sitemap|Xml |Privacy Policy


